· Adam Rizzo
DIY wrist roller: how to build one, and when not to
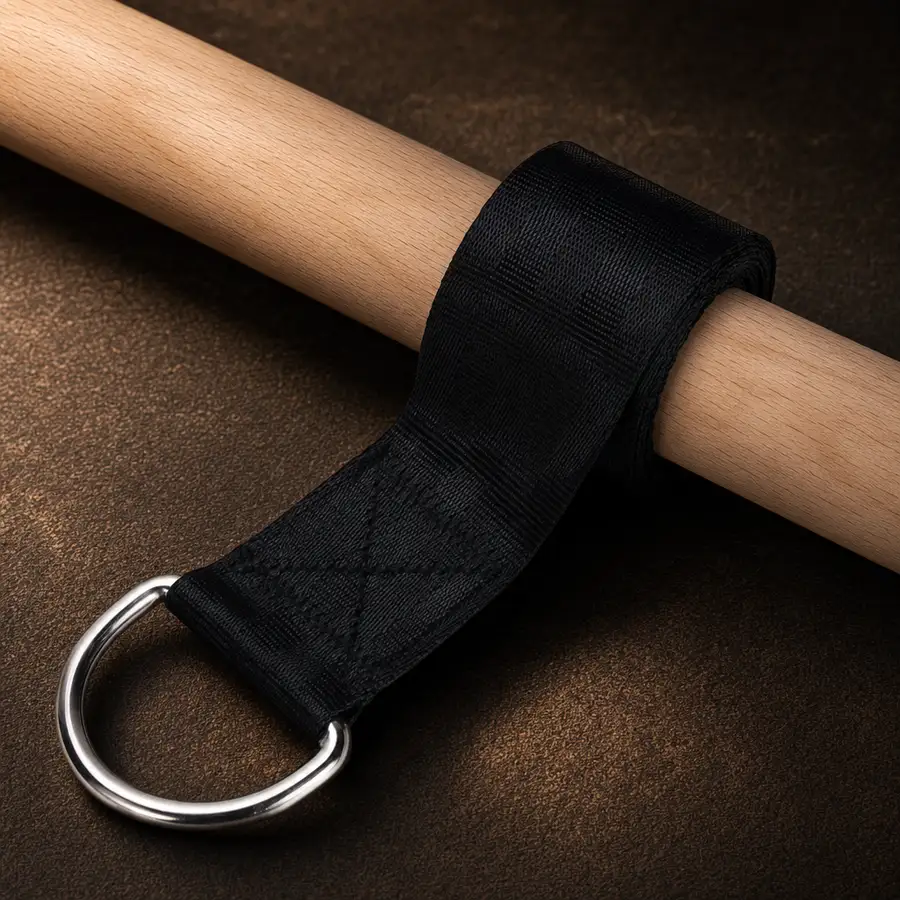
We sell a wrist roller for $29.99, so you might expect this article to sandbag the homemade option. It will not. The DIY roller is a legitimate classic, plenty of strong forearms were built on broomsticks, and if you like making things you should read the build section and enjoy yourself. What you deserve either way is an honest account of where homemade versions fail, because it is always the same places.
The classic build, in five steps
| Step | What you do | Watch out for |
|---|---|---|
| 1. Cut the handle | Hardwood dowel, roughly 12-16 in long | Softwood dowels crack at the hole |
| 2. Drill the center | Hole through the middle, sized to your rope | Off-center holes make the bar wobble |
| 3. Thread the rope | Feed through, knot on top of the bar | The knot is the usual failure point |
| 4. Attach the load | Tie or clip a plate at the bottom end | Tied plates shift and slip mid-set |
| 5. Sand and test | Smooth the grip, test low first | Splinters end sessions faster than fatigue |
Total cost in parts is usually in the $10 to $20 range depending on what your garage already holds, plus an hour of work. Rope through a PVC pipe over a bar is the even quicker variant, and it rolls fine, though the fat pipe changes the grip feel completely.
Where DIY rollers actually fail
First, the knot. A knot in the rope carrying a swinging plate is a wear point you cannot see inside, and it lets go without an announcement. Purpose-made rollers replace the knots at both ends: on ours, a stitched strap loop wraps the bar and a steel carabiner holds the weight, so nothing depends on your knot-tying. Second, the hole. Drilling the dowel removes wood exactly where the bar bends hardest, and cracks start there. The strap-loop design skips the hole entirely, which is why the handle can stay one solid 15.7 in (40 cm) piece. Third, the rope itself frays against the drilled edge each rotation, so a DIY roller needs a rope inspection habit that a nylon strap does not.
Is the movement identical?
Yes, and that is the point of both versions. Wind the weight up, lower it under control, alternate your grips, progress the load. The technique guide and the routines apply to a broomstick build exactly as they do to ours. Muscle does not check receipts, and the health case for grip work, like the PURE study's finding that every 5 kg (11 lb) of grip strength was associated with a 16% difference in all-cause mortality risk (The Lancet, 2015), applies to any roller that gets used.
The honest decision table
| You are... | Build | Buy |
|---|---|---|
| Handy, own tools, enjoy making gear | ✓ Genuinely a fun hour | |
| Testing whether you will even use one | ✓ Broomstick + rope costs nothing | |
| Planning to load 15 lb and up | ✓ Stitched strap and carabiner, no knots | |
| Short on time or tools | ✓ $29.99 delivered beats a hardware trip | |
| Wanting plates to ride securely | ✓ Pair with a loading pin |
Our take
Build one if the building is part of the fun, and you will learn the movement on it. Buy one when the loads get serious or when you realize your training time is worth more than your rigging time. Either way, roll: the forearms you want do not care which door you came through.
And if you do build, keep the receipt mindset: inspect the rope where it enters the hole every few sessions, retie the knot monthly, and retire the dowel at the first hairline crack. A homemade roller that gets those three habits will serve for years. The ones that fail belong to builders who treated a load-bearing knot as a one-time decision.